Starting seeds indoors is fun and rewarding. With the right knowledge, you can get great results. These tips will help your plants grow strong and succeed.
Starting seeds indoors lets you enjoy a longer growing season. You can also grow a wider variety of plants. This guide will give you a full overview of starting seeds indoors. You’ll learn important tips to get started.
Introduction to Starting Seeds Indoors
This article covers the basics of starting seeds indoors. You’ll learn about the benefits and the steps to get started. You’ll know how to create the perfect environment for your seeds to grow.
Key Takeaways
- Starting seeds indoors allows for a longer growing season
- Seed starting tips can help increase the chances of success
- Starting seeds indoors provides control over the environment
- A wider variety of plants can be grown using starting seeds indoors
- Starting seeds indoors can be a fun and rewarding experience
- Seed starting tips can help you get started with growing your own plants
Understanding the Benefits of Starting Seeds Indoors
Starting seeds indoors is a big plus for indoor gardening. It lets you pick from more plants and grow them longer. Plus, you can control the environment better, keeping pests and diseases away.
Some main benefits of starting seeds indoors are:
- Better plant selection, as you can choose from a broader range of varieties
- Extended growing season, as you can start seeds 4-6 weeks before the last frost date in your area
- Improved pest and disease management, as you can control the environment and reduce the risk of infestations
Starting seeds indoors gives your plants a great start. It ensures they grow well and gives you a big harvest. Indoor gardening and growing plants indoors is fun and rewarding for everyone.
Exploring indoor gardening and growing plants indoors opens up many benefits. From better plant choices to longer growing seasons, there’s a lot to gain. So, why not try it and see the difference for yourself?
Choosing the Right Seeds
Choosing the right seeds is key for a successful harvest when starting seeds indoors. With many options, picking the right ones can be tough. You need to think about days to maturity, growth habits, and disease resistance. The right seed starting supplies also play a big role in your plants’ health and productivity.
Popular choices for indoor seed starting include tomatoes, peppers, cucumbers, and marigolds. These plants are easy to grow and do well in various conditions. Make sure to pick seeds that match each plant’s specific needs, like lighting and temperature.

Heirloom vs. Hybrid Seeds
Deciding between heirloom and hybrid seeds is another important choice. Heirloom seeds can be saved for future use because they are open-pollinated. Hybrid seeds, bred for specific traits, often have better disease resistance. Here are some things to consider when choosing between heirloom and hybrid seeds:
- Disease resistance
- Days to maturity
- Growth habits
- Seed saving options
Popular Vegetables and Flowers to Start Indoors
Other popular choices for indoor seed starting include:
- Leafy greens like lettuce and kale
- Herbs like basil and cilantro
- Flowers like zinnias and sunflowers
These plants are excellent for indoor seed starting and can thrive with the right seed starting supplies. By picking the right seeds and providing the right conditions, you can enjoy a successful harvest.
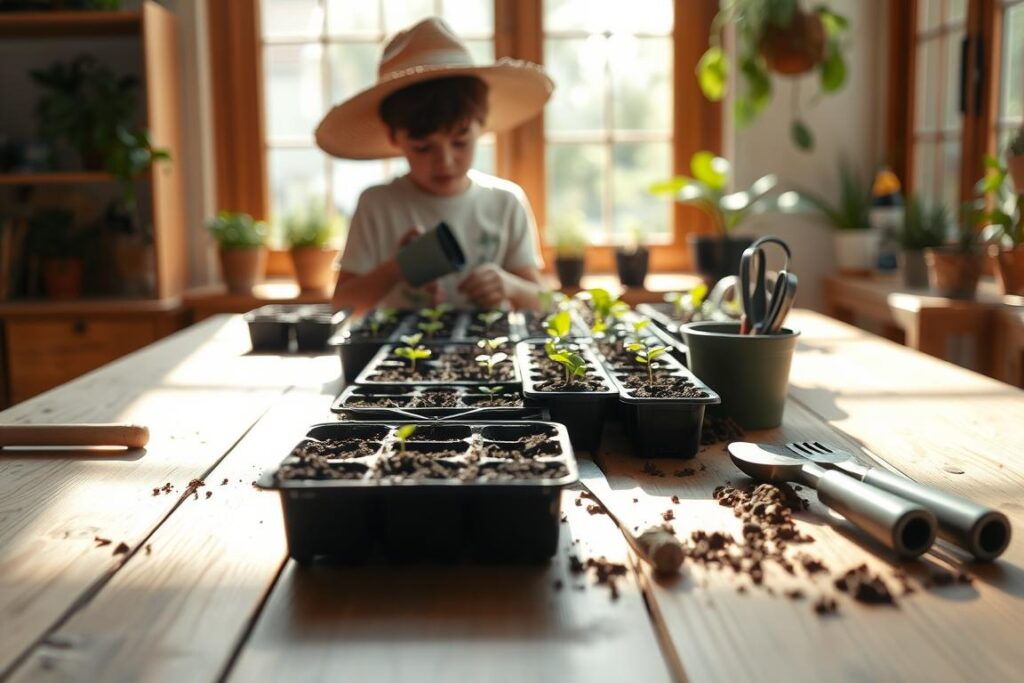
Essential Supplies for Seed Starting
Starting seeds indoors requires the right tools. You’ll need seed trays, a special seed-starting mix, and labels. These help your seeds grow strong and healthy.
Choose seed trays that fit your space and needs. You can pick from biodegradable or reusable options. A good mix for starting seeds is sterile and weed-free. It gives your seeds a clean start.
Seed Trays and Containers
- Biodegradable containers, such as peat pots or cow pots
- Reusable containers, such as plastic or metal trays
- Cell packs or seed starting trays with individual cells
Seed-Starting Mix vs. Potting Soil
A seed-starting mix is key for indoor seed starting. It’s made to keep seeds moist and nourished. Potting soil is too dense and can have weeds or pests.
Labels and Markers
Labels and markers help track your seedlings. Use plastic, metal, cardboard, or paper labels. They make it easy to see which seeds are growing and which need more time.
Preparing Your Workspace
To get seeds to grow well indoors, you need to set up your space right. This means making a spot that’s perfect for growth. You want to mimic nature but control things like temperature and light.
Think about what your seeds need. Most seeds like it warm and bright to start growing. Use grow lights or a sunny window to give them enough light.

- Keep the temperature between 65-75°F (18-24°C) for most seeds.
- Make sure there’s good air flow to avoid too much moisture.
- Give them enough light, either from the sun or grow lights.
By paying attention to these details, you can make a great space for seeds to grow. This will help them grow strong and healthy.
Planting Seeds: Step-by-Step Guide
Starting seeds indoors requires a clear guide to ensure they grow well. You’ve set up your space, picked the right seeds, and got all you need. Now, it’s time to plant them.
First, make sure you’re using the right seed starting tips for your seeds. Check the seed package for how deep to plant. Seeds should be 2-3 times their diameter deep. This keeps them from being too shallow or too deep.
Key Planting Considerations
- Plant seeds at the correct depth to prevent washing away or overwatering
- Use a gentle stream of water to avoid dislodging the seeds
- Maintain consistent moisture levels without overwatering
By following these tips and planting carefully, you’ll grow strong seedlings. Keep the soil moist but not too wet. This helps them germinate and grow.
Caring for Seedlings
As you keep growing plants indoors, it’s key to give your seedlings the right care. Light is very important for them. Most seedlings need bright, indirect light to grow strong. You can use grow lights or put them near a sunny window.
It’s also important to adjust how often you water them. Too much water can cause rot and slow growth. Check the soil by sticking your finger in it up to the first knuckle. If it’s dry, it’s time to water. With time, you’ll learn when your seedlings need water.

Another key thing is to thin out your seedlings. As they grow, they might get too close together. This can make them weak and leggy. To fix this, remove some seedlings, leaving only the strongest ones. This gives them room to grow into healthy plants.
- Provide bright, indirect light for strong growth
- Adjust watering schedules to prevent overwatering
- Thin out seedlings to prevent overcrowding
By following these steps, you can help your seedlings grow well. Stay alert to their needs and adjust as needed. With practice and patience, you’ll get good at growing plants indoors and enjoy the benefits of indoor gardening.
Timing Your Planting
Starting seeds indoors requires careful timing. Knowing when to plant and transplant is key. You’ll need the right seed starting supplies and an indoor seed starting guide to succeed.
Most seeds germinate in 1-3 weeks. But some take longer. So, it’s important to know the germination times for your seeds. This helps plan your planting schedule and ensures seedlings are ready for outdoor transplanting.
Understanding Germination Times
- Research the specific germination times for your seeds
- Plan your planting schedule according to these times
- Ensure the right conditions for germination, like enough light and temperature
After germination, think about transplanting outdoors. Wait for warm weather and no frost risk. Before transplanting, harden off your seedlings to avoid shock.

When to Transplant Outdoors
Follow these tips and use the right seed starting supplies for indoor seed starting success. Always check a trusted indoor seed starting guide for detailed advice on planting and transplanting.
Troubleshooting Common Seed Starting Issues
Starting seeds indoors can be tricky. You might face problems like mold, nutrient shortages, and temperature issues. Knowing how to fix these problems is key to a healthy start for your indoor garden.
Common seed starting issues include mold, nutrient shortages, and temperature problems. Here’s how to tackle them:
- Improve ventilation to prevent mold and dampening off
- Adjust your watering schedule to avoid overwatering
- Use fungicides to treat affected areas
- Monitor your seedlings for signs of nutrient deficiencies, such as yellowing leaves or stunted growth
- Use fertilizers to provide essential nutrients for healthy growth
By tackling these issues early, you can boost your chances of successful seed germination indoors. Keep temperatures right, light levels high, and water just enough. This will help your seedlings grow strong and healthy.

Hardening Off Your Seedlings
When you’re ready to move your seedlings from indoors to outdoors, hardening them off is key. This step helps them adjust to outdoor conditions like sunlight, wind, and temperature changes. It’s a 7-10 day process. Following good seed starting tips is vital for their health.
To start hardening off, place your seedlings in a shaded outdoor spot. Then, slowly introduce them to more sunlight and wind. Here’s how:
- Start by placing seedlings in a shaded outdoor area for 2-3 days.
- Over the next 4-5 days, gradually increase their exposure to direct sunlight and wind.
- Watch for signs of stress like wilting or color changes in your seedlings.
By hardening off your seedlings, you’ll help them grow well outdoors. Keep a close eye on them during this time. Adjust as needed for a smooth transition.

Enjoying Your Indoor Gardening Experience
Reflect on your progress with indoor seed starting and feel proud of your achievements. Seeing your seedlings grow is rewarding and connects you to nature. You’ve learned valuable gardening skills and appreciate the art of growing plants indoors.
Reflect on Your Progress
Think about the challenges you’ve faced and the lessons you’ve learned. Celebrate your successes, like the vibrant colors of your flowers or the strong growth of your vegetables. This journey has given you the knowledge and confidence to keep enjoying indoor gardening.
Share Your Gardening Journey
Share your indoor gardening experience with friends, family, or online communities. Your insights and tips can inspire others to start their own gardens. Connect with other gardeners, exchange seeds, and learn from their experiences. By sharing your passion, you help grow the indoor gardening community.
The secret to enjoying indoor gardening is to embrace the journey, learn from your mistakes, and find joy in small victories. With patience and persistence, you can create a beautiful indoor oasis that nourishes your plants and connects you to nature.
FAQ
What are the benefits of starting seeds indoors?
Starting seeds indoors has many advantages. You can pick from a wide variety of plants, including rare ones. This lets you start seeds 4-6 weeks before the last frost, extending your growing season.
It also helps manage pests and diseases better. By controlling the indoor environment, you can reduce risks to your seedlings.
What are the differences between heirloom and hybrid seeds?
Heirloom seeds are open-pollinated and can be saved for future use. Hybrid seeds, on the other hand, are bred for specific traits and often have better disease resistance.
Heirloom seeds often have unique flavors and characteristics. Hybrid seeds are more reliable and consistent in growth and performance.
What essential supplies do I need for starting seeds indoors?
You’ll need a few key supplies to start seeds indoors. These include seed trays and containers, seed-starting mix, and labels and markers to keep track of your seedlings.
How do I prepare my workspace for indoor seed starting?
To get your workspace ready, choose a spot with enough light. This could be near a sunny window or under grow lights. Keep the temperature between 65-75°F (18-24°C) for most seeds.
Also, make sure there’s good ventilation to prevent mold and dampening off.
How do I plant the seeds and care for the seedlings?
When planting seeds, make sure to plant them at the right depth. Use a gentle watering technique to avoid washing them away. As they grow, provide the right amount of light, water, and nutrients.
This may include thinning the seedlings to prevent overcrowding.
When should I transplant the seedlings outside?
The best time to transplant seedlings outside depends on the last frost date and the plants’ needs. Wait until the weather is warm and settled.
Before transplanting, harden off the seedlings by gradually exposing them to outdoor conditions over 7-10 days.
How can I troubleshoot common seed starting issues?
You might face issues like mold, dampening off, nutrient deficiencies, and temperature fluctuations. To solve these, improve ventilation and reduce watering to prevent mold and dampening off.
Use fertilizers for nutrient deficiencies and maintain consistent temperatures with thermostats or heat mats.
What is “hardening off” and why is it important?
Hardening off is gradually exposing seedlings to outdoor conditions like sunlight, wind, and temperature changes over 7-10 days. It helps them adapt to the outdoors and prevents shock when transplanted.